Friday, August 26, 2011

Peanut Butter Cup Blondies


I just came across this recipe for Peanut Butter Cup Blondies in this month's Cooking Light magazine. They had an entire section of brownies and they all looked SO good. I asked Dylan (my 3-year-old) which he wanted to make, and he picked these out. I think he was drawn to the peanut butter cups sprinkled on top. I can't blame him!

These were SUPER quick and easy to make - we had them ready to stick in the oven in about 15 minutes. And if you cut them up really tiny (NOT like the ones in my pictures) then you won't even eat too many calories. I didn't go that route...


Peanut Butter Cup Blondies
from Cooking Light

5.6 ounces all-purpose flour (about 1 and 1/4 cups)
1 cup granulated sugar
1/2 tsp baking powder
1/4 tsp salt
1/3 cup creamy (I used crunchy) peanut butter
1/4 cup butter, melted and cooled slightly
2 Tbsp 2% reduced fat milk
1 tsp vanilla extract
2 large eggs, beaten lightly
1/4 cup semisweet chocolate chips
cooking spray
4 (.75-ounce) peanut butter cups, coarsely chopped

1. Preheat oven to 350 degrees F.

2. Weight or lightly spoon flour into dry measuring cups; level with a knife. Combine flour and next 3 ingredients (through salt), stirring well with a whisk. Combine peanut butter and next 4 ingredients (through eggs), stirring well. Add peanut butter mixture to flour mixture; stir until combined. Stir in chocolate chips.

3. Scrape the batter into a 9-inch square metal baking pan lightly coated with cooking spray, and arrange the peanut butter cups over the batter. Bake at 350 for 19 minutes or until a wooden pick inserted in center comes out with moist crumbs clinging. Cool in pan on a wire rack.

Tuesday, December 21, 2010

Butterfinger Chocolate Trifle

Well hallelujah, I'm alive and baking!

Sorry I've been MIA lately with this blog... I recently decided to pursue a part-time photography business. Between that and being a full-time Mom to two kids, well, my time for baking fun new things is gone! Boo!

Here are my photography links if you're interested in following me:

Facebook: http://www.facebook.com/MelissaDeVoePhotography-stop by and like me!
Website: http://www.melissadevoephotography.com/
Blog: http://www.melissadevoephotos.blogspot.com
I will check in here from time to time if I make something irresistible... like this trifle.


That's right - I'm here to talk about the trifle! This is an amazing tasting dessert and amazingly easy to make! If I could have fit my head into that trifle bowl, I would have licked it clean. Seriously, people! I contemplated it, but I didn't want pudding in my hair.

Mine's a little messy looking, but that's what happens when a three-year-old helps. I always opt to make it with Butterfinger because it's my favorite, but really any candy bar would do.

Happy holidays to everyone!

Butterfinger Chocolate Trifle
1 box fudge brownie mix
1 large box instant chocolate pudding
2 regular or 1 large size container Cool Whip
6 Butterfinger bars

Bake mix as directed and allow to cool. Break brownies into large pieces. Use half for bottom layer. Mix pudding as directed on box, then spread half of pudding over cake layer. Break candy into small pieces. Sprinkle half of candy over pudding. Top with half of Cool Whip. Then repeat layers. Use your imagination for a topping - shaved chocolate, chocolate chips or a little more of the chopped candy bar.

Wednesday, June 30, 2010

{Not-That-Pretty} Mac Salad


This is a FABULOUS Macaroni Salad recipe that I made last week and brought to a friend's. It made a huge amount - perfect for a picnic or potluck. The flavors were just awesome, and I think this will be "my" mac salad recipe from here on out.

It calls for a lot of veggies - celery, peppers and carrots (and you can throw in onion too if you like that). I threw them all in my food processor to save me the time chopping, and I ended up with little tiny specks of veggies and a few big chunks here and there... lesson learned. Next time I guess I'll chop, or try not to be so trigger happy on the food processor.

This Mac Salad would be a great 4th of July picnic recipe. If you're looking for some more recipes for your 4th of July parties, check out these:

Southwest Corn Dip
Grilled Burgers with Blue Cheese Mayo
Grilled Sausage and Vegetables
Grilled Pork Kabobs
Potato-Egg Salad
Mandarins and Ice Cream Cake


Macaroni Salad
(adapted from Allrecipes.com)

16 ounces uncooked elbow macaroni
4 carrots, shredded
1/2 green bell pepper, seeded and chopped
1/2 red bell pepper, seeded and chopped
1 cup chopped celery
2 cups mayonnaise
1 (14 ounce) can sweetened condensed milk
1/4 cup white sugar
1/2 cup white vinegar
salt and pepper to taste

1. Bring a large pot of lightly salted water to a boil. Add macaroni, and cook until tender, about 8 minutes. Rinse under cold water, and drain.

2. In a large bowl, stir together the carrots, green pepper, red pepper and celery. Mix in the mayonnaise, condensed milk, sugar, vinegar, salt and pepper. Add the macaroni, toss gently, cover and refrigerate for at least 8 hours, or overnight. Stir occasionally to blend the flavors. The macaroni will absorb some of the liquid.

Makes 16 servings.

Wednesday, May 19, 2010

Spicy Chicken Fried Rice with Peanuts


Here's a tasty, quick, and figure friendly dinner. This Chicken Fried Rice has a tad bit of a kick to it, but it really isn't that spicy. The spice factor can be adjusted by putting more or less of the red pepper into the dish.

I found the recipe in a Cooking Light article, but it was created by guest contributor Ellie Krieger. I've heard a ton of great things about Ellie Krieger's low-cal foods, but this is the first time I've made one of her recipes. The dish turned out really delicious and I'm so glad I tried it.

The recipe calls for red peppers and would probably make the dish look twice as nice. However, we had two green peppers from the farmers market that I needed to use up, so in they went! Tasted fantastic. We'll make this again and again!


Spicy Chicken Fried Rice with Peanuts
(by Ellie Krieger)

1/4 cup less-sodium soy suace
1 Tbsp. dark brown sugar
1 tsp. dark sesame oil
3/4 tsp. crushed red pepper
2 Tbsp. canola oil
2 cup diced red bell pepper (about 2)
1 cup diced onion
1/4 cup thinly sliced green onions
2 Tbsp. minced peeled fresh ginger
2 large garlic cloves, minced
5 cups cold cooked brown rice
2 cups diced cooked chicken (about 1 lb.)
1 (8-ounce) can sliced water chestnuts, drained and chopped
1/3 cup chopped, unsalted, dry-roasted peanuts

1. Combine the first 4 ingredients in a small bowl, stir well with a whisk.

2. Heat canola oil in a wok or large nonstick skillet over medium-high heat. Add bell pepper, diced onion, and 2 Tbsp. green onions to pan; stir-fry for 3 minutes or until tender. Add ginger and garlic; stir-fry 1 minute. Add rice, chicken, and water chestnuts; stir-fry for 5 minutes or until thoroughly heated, stirring gently. Add soy sauce mixture; cook 2 minutes, tossing gently to coat. Sprinkle with remaining 2 tablespoons green onions and peanuts.

Makes 5 servings (each serving is about 1 and 3/4 cups rice mixture, 1 and 1/4 teaspoons green onions, and 1 Tbsp. peanuts).

Calories/serving: 482, Fat: 14.8g (sat 2.1g), Protein: 26.3g, Carbs: 61.8g, Fiber: 6.9g, Cholesterol: 48mg, Iron: 2.8mg, Sodium: 479mg, Calcium: 59mg

Saturday, May 15, 2010

Cowboy Calzones


I found this recipe in my fabulous The Pioneer Woman Cooks book, which Denny bought me back at Christmas. And is it just me, or is The Pioneer Woman taking over the world? I remember reading her blog back when no one really knew who she was, and now you can't turn on the TV without seeing her somewhere and everyone knows who she is... not to mention she's totally making lots of moolah. And man, can she cook!

I've made homemade calzones just once before trying this recipe. I'm not sure why I don't make them more often, because they're much easier than you'd think. I liked this recipe because it uses both ground beef and sausage (Denny's favorite) and lots of cheese. They're so yummy! And you can make the dough ahead of time and let it sit in the fridge for a day or two, so when it comes time for dinner, you don't have much to do. I'm pretty certain you'll like these! Very delicious!


Cowboy Calzones
(from The Pioneer Woman Cooks by Ree Drummond)

For the dough:
1 tsp. or 1/2 packet of active dry yeast
4 cups all purpose flour
1 tsp. kosher salt
1/3 cup extra virgin olive oil, plus more for drizzling

1. Pour 1 and 1/2 cups warm water in a bowl and sprinkle in yeast.

2. Combine the flour and salt in a mixing bowl. With an electric mixer on low speed, drizzle in olive oil until just incorporated.

3. In a separate bowl, gently stir the yeast/water mixture. Drizzle it into the flour/oil mixture; mix until the dough forms a ball. (You can also mix by hand until the dough comes together.)

4. Drizzle a little olive oil into a clean bowl. Toss the ball of dough in the bowl and turn over to coat in oil. Cover the bowl with a moist kitchen towel and set in a warm place for 1 to 2 hours, or cover with plastic wrap and store in the fridge for up to 2 days.

For the calzone:

1/2 pound hot breakfast sausage
1 pound ground beef
1/2 diced onion
8 oz. can tomatoes and chilies (such as Rotel)
8 oz. whole milk ricotta cheese
1/2 cup grated mozzarella cheese
1/2 cup grated Monterey Jack cheese
1 egg, beaten
Salt and Pepper
Olive oil for brushing

1. Preheat oven to 450°F. In a large skillet combine the ground beef, sausage and onion. Brown over medium heat. Drain excess grease. Pour in the tomatoes and chilies. Stir to combine, and cook for 2 minutes. Remove from heat and allow to cool slightly.

2. In a bowl, combine the ricotta, mozzarella, Monterey Jack, and egg. Add a dash of salt and pepper.

3. Add the cooled meat mixture to the cheese mixture and stir gently to combine.

4. Divide the pizza dough into 8 equal-size balls. With a rolling pin on a floured surface, roll each ball into a 6-inch circle.

5. Place one-eighth of the meat/cheese mixture in the middle of each circle. Fold half of the circle over the other half, gently pressing to slightly spread and flatten the filling inside. Press a fork along the edge to seal closed, then transfer the calzone to a greased baking sheet. Repeat with the remaining dough and filling. Brush the calzone with olive oil.

8. Bake for 12 to 15 minutes, until golden brown. Transfer the calzone to a basket or wrap individually in foil.

Makes 8 calzones, calories too high to warrant counting.

Tuesday, May 11, 2010

TWD: Burnt Sugar Ice Cream

So I'm a day late and a dollar short... or something like that. The Tuesdays with Dorie group made the Burnt Sugar Ice Cream last week. I had some technical difficulties with my ice cream maker so I didn't have it made in time to post last week. Turned out the freezer bowl to the ice cream maker wasn't cold enough to churn the batter into ice cream. So the batter sat in my fridge for a few days while I made the freezer colder and allowed the bowl a full two days to freeze. Then, it came out magnificently!


I continue to be surprised at the ease of Dorie's recipes. Besides my own issues with operating my ice cream maker that I've had for years and you'd think I'd know how to use correctly, I had no other problems! The ice cream tasted like caramel and was really very good!

I was, of course, impatient to eat it, so I didn't allow it to harden in the freezer very long after it churned. Therefore, my photo looks like ice cream mush. Tasty ice cream mush, though!

For the recipe, visit Becky at Project Domestication. She was kind enough to choose this recipe for us and has a gorgeous blog!

Friday, May 7, 2010

Salisbury Steak

How come the thought of Salisbury Steak makes me think of the high school cafeteria? I guess it's probably the only time I've ever had salisbury steak... many, MANY years ago now. I wasn't even really sure what it was, or how to make it. But I saw a recipe at Mommy's Kitchen (have I stolen enough of her recipes, or what?) and I was interested.


They looked like little meatloafs, but with gravy. Since Denny really can't get enough of meatloaf (is this a guy thing? Or just a Denny thing?) I figured I should give it a try. And oh my, it's yummy! Very easy to make and really delicious. I used the recipe exactly except substituted bread crumbs for the cracker crumbs and left out the mushrooms (I've never been a mushroom fan). And we loved it with mashed potatoes. We'll make this again for sure!


Salisbury Steak
(adapted from Mommy's Kitchen)

2 pounds ground beef
1 package Lipton’s French Onion Soup Mix
1/2 cup bread crumbs
1 egg
2 packets (0.75 oz) brown gravy mix, prepared
1 cup sour cream
1 small can mushroom stems, optional

1. Make hamburger patties using ground beef, bread crumbs, egg and soup mix. Fry or grill until patties are browned on both sides.

2. While the hamburgers are cooking mix together the brown gravy and sour cream. Grease a 9 x 13 pan and lay cooked patties in the pan. Cover the patties with the sour cream and gravy mixture. Bake at 350 degrees covered for about 40 minutes, turning patties halfway through. Serve with egg noodles, rice or mashed potatoes.

Makes about 6 steaks, but don't be surprised if someone wants more than one!

Tuesday, April 27, 2010

TWD: Chockablock Cookies


This week we are baking Chockablock Cookies for the Tuesdays with Dorie group. My first reaction was, "chocka-WHAT?" I was completely clueless what to expect as I was opening the cookbook to find the recipe.

And after I read the recipe... I was still completely clueless what to expect. Molasses? Coconut? Oatmeal? Raisins? Chocolate Chips? NUTS?!?! What is this world coming to?

So I only made a half batch. And the smell of the molasses kind of turned my stomach as I poured it in. Boy, I hope these are good.

I didn't end up having quite enough oatmeal left, and I omitted the nuts because all I had were walnuts which I don't really like (explains why they've been sitting in my house for so long).

They were super quick to make. I took them out of the oven and thought... hhhmmm... well they're not pretty! But they're actually quite good. I'm really wishing I'd had some nuts on hand because I think the only thing they're missing is a little crunch. I may have to try them again after a trip to the grocery store.

Mary of Popsicles and Sandy Feet is our host for today. You can head over to her site to find the recipe! Thanks Mary!

Wednesday, April 21, 2010

That Super Sausage Gravy You All Asked About

Most everyone noticed the delicious looking sausage gravy that smothered my biscuits in the Tuesdays with Dorie recipe. And a ton of you mentioned that you'd like the recipe to make this sinfulness too. Thank you for that. You know how you make something so high in calories that it makes you feel fat immediately after eating it? Well, that's how this is... it feels wrong to tell the world how much I loved it. But you asked, so therefore I answer.


The recipe is actually from Bob Evans via Allrecipes.com. It has 5 stars and exactly 624 glowing reviews on the site. Uuummmm... do ya think it's good? Don't take my word for it - take the other 624 people who liked it!

I never knew sausage gravy was so easy to make. Which poses a dilemma... now that I know how easy it is, how do I NOT make it every Sunday morning? And how do I make my hips NOT grow? Anyone?

Super Sausage Gravy
(from Bob Evans)

1 pound mild or hot ground sausage
1/4 cup all-purpose flour
2 cups milk
Salt and black pepper to taste
8 prepared biscuits

1. Crumble and cook sausage in large skillet over medium heat until browned. Stir in flour until dissolved. Gradually stir in milk. Cook gravy until thick and bubbly. Season with salt and pepper. Serve hot over biscuits. Refrigerate leftovers.

Tuesday, April 20, 2010

TWD: Sweet Cream Biscuits

Guess what today is!! It's my turn to pick the recipe for Tuesdays with Dorie, the fabulous baking group that I joined nearly two years ago. 50 recipes later and the rotation finally got to me. I must say that I've come a long way since my very first recipe with the group - the summer fruit galette. Boy, that was good! I knew I was in for a lot of tasty treats and a few extra pounds after eating that galette. In two years, I've made my first pie dough from scratch, first cheesecake, first soufflé, first custard, first rice pudding, learned how to marble a cake, figured out what in the world rugelach is, acquired lots of new bakeware, and made the best darn ice cream I've ever had.

So the time has finally come for little old ME to pick a recipe for the entire group to make. And what did I pick? Well, I picked the Sweet Cream Biscuits. I compiled a bucket list about a year ago and put "make biscuits from scratch" on my list. They're something I've always wanted to make and never had. And since all of the best sounding desserts had already been chosen within the group, I decided that finally getting to try my hand at biscuits would be a fun task.

And boy, I never knew biscuits could be so difficult to make. It sounded like some other TWDer's were having problems as well. A few people complained their biscuits didn't rise much and were a little hard. Well, I baked my first batch... and had the same results. Just flat little round things that were too hard.

So I looked for some tips. It seems the most common thing I read about was handling the dough too much... which I figured was my problem. I tried a second batch and they came out better, but still not perfect. Here's how they looked... not bad, but not real good either.


So I researched a little more. And I shopped for new flour... and fortunately I found the crown jewel of biscuit making in the south - White Lily flour. So I used the new flour, barely handled the dough at all - to the point that I worried I hadn't mixed it enough, and tried another new technique I'd read about - not twisting the biscuit cutter as you press down on the dough to cut your biscuits.

And... it worked. Sort of. The biscuits were a lot lighter and they rose higher. For some reason there were a couple that came out sorta flat, but most of them were great. I guess biscuit making takes some practice!


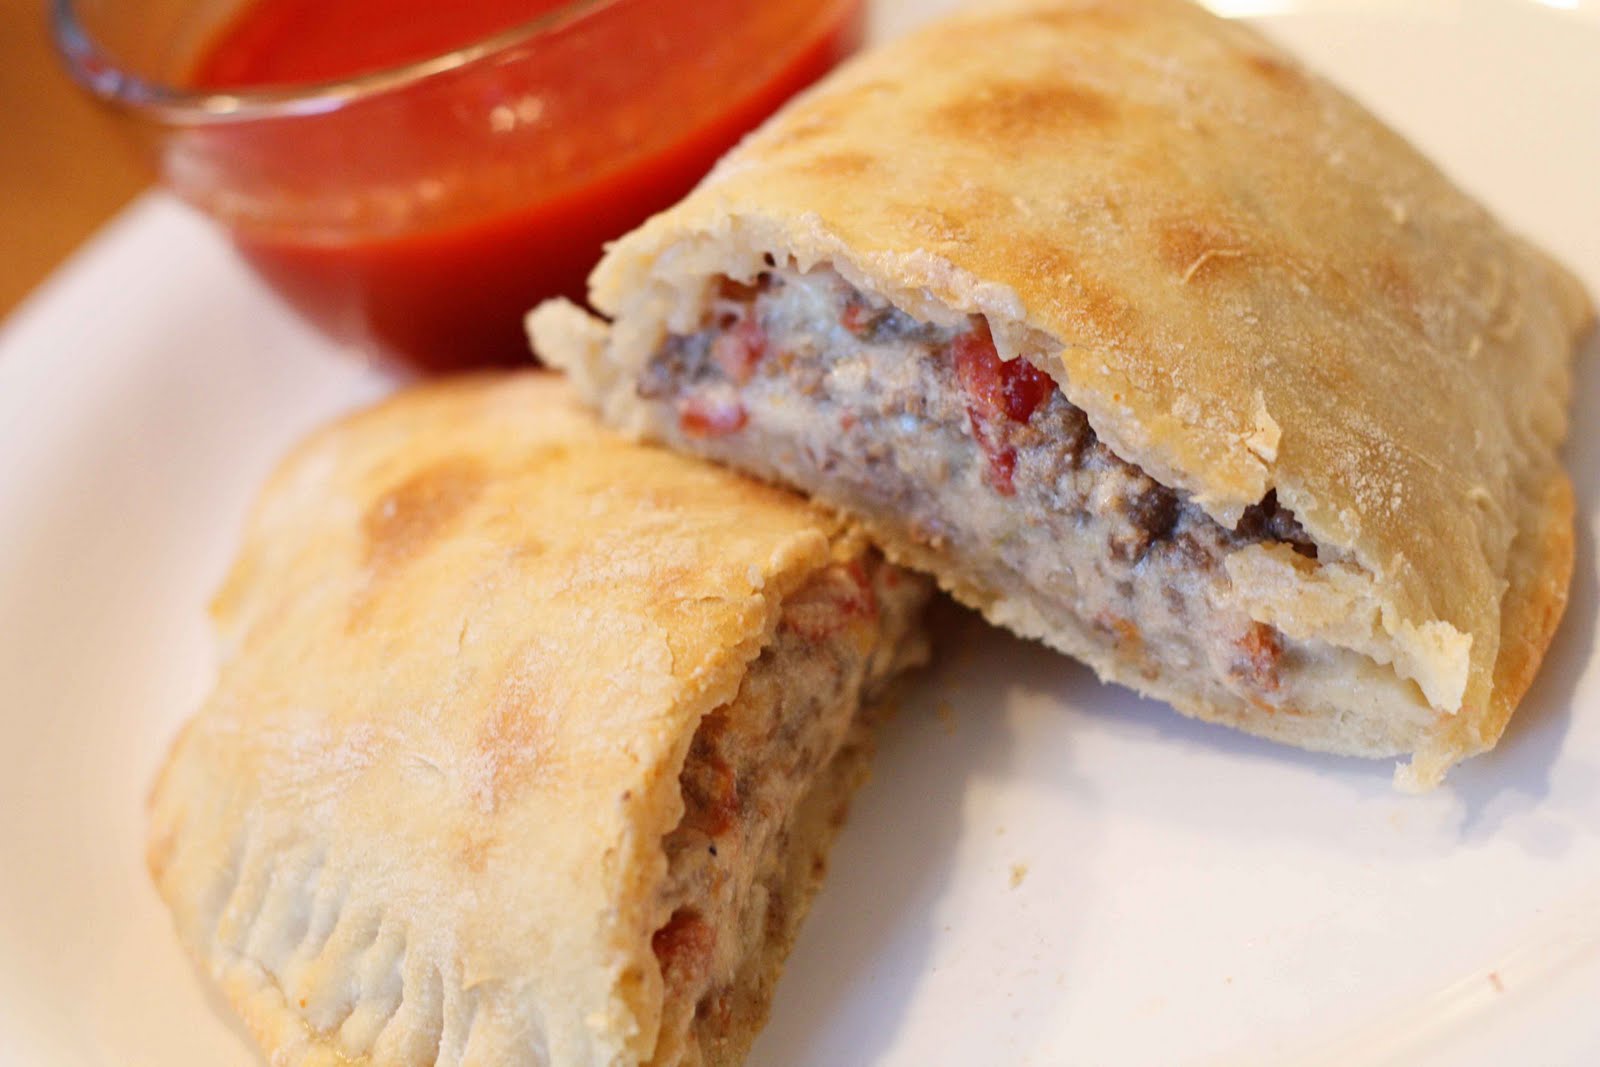
At any rate, they were delicious. My husband insisted we have sausage gravy with them, so they were completely smothered in it. Soooo good and calorie laden. Totally sinful. Now that I know how to make biscuits and sausage gravy, I might be gaining a few pounds, because I know my husband will be asking for it frequently.


Thank you to all the TWD members for baking along with me this week! I hope everyone enjoyed the biscuits!

Here's the recipe for anyone who'd like to try it. And I'll be posting the sausage gravy recipe tomorrow, so check back!

Sweet Cream Biscuits
(from Dorie Greenspan's Baking: From My Home to Yours, page 23)
Makes about 12 biscuits

2 cups all-purpose flour (or 1 3/4 cups all-purpose flour and 1/3 cup cake flour)
1 Tbsp. baking powder
2 tsp. sugar
1/2 tsp. salt
1 to 1 and 1/4 cups heavy cream

Getting ready: Center a rack in the oven and preheat the oven to 425 degrees F. Get out a sharp 2-inch-diameter biscuit cutter (I used a glass, and it was fine), and line a baking sheet with parchment or a silicone mat.

Whisk the flour(s), baking powder, sugar and salt together in a bowl. Pour about 1 cup of the cream over the dry ingredients, grab a fork and start tossing the ingredients together. If necessary, add more cream, a spoonful at a time, until you’ve got a nice soft dough. Now reach into the bowl with your hands and give the dough a quick, gentle kneading – 3 or 4 turns should be just enough to bring everything together.

Lightly dust a work surface with flour and turn out the dough. Dust the top of the dough very lightly with flour and pat the dough out with your hands or roll it with a pin until it is about 1/2 inch high. Don’t worry if the dough isn’t completely even – a quick, light touch is more important than accuracy.

Use the biscuit cutter to cut out as many biscuits as you can. Try to cut the biscuits close to one another so you get the most you can out of this first round. By hand or with a small spatula, transfer the biscuits to the baking sheet. Gather together the scraps, working them as little as possible, pat out to a 1/2-inch thickness and cut as many additional biscuits as you can; transfer these to the sheet. (The biscuits can be made to this point and frozen on the baking sheet, then wrapped airtight and kept for up to 2 months. Bake without defrosting – just add a couple more minutes to the oven time.)

Bake the biscuits for 14 to 18 minutes, or until they are tall, puffed and golden brown. Transfer them to a serving basket.

Serving: Ideally these biscuits should go from oven to table and be served with cold sweet butter.

Storing: You can keep the biscuits in a plastic bag overnight and give them a quick warm-up in the oven the next day, but you won't recapture their freshly made flakiness.

Monday, April 19, 2010

Weekly Menu - 4/19/10

I haven't posted a menu in a while just out of plain old busy-ness. But as I was just coming up with our menu for the week, I figured I'd take a minute and post it - in case it can give anyone any ideas for their week!

Monday - Swedish Meatballs with egg noodles
Tuesday - Ceasar Salad with Chicken
Wednesday - Chicken Tikka Masala (hubby's choice - I make him pick something every week) with storebought Naan
Thursday - Salisbury Steaks (recipe from Mommy's Kitchen - this will be my first time making it) with mashed potatoes and a veggie
Friday/Saturday - eat out/order in
Sunday - pizza

Sunday, April 18, 2010

Sunken Burritos


Well, if you know me at all, you know I love just about anything Mexican. So when I happened upon a recipe for burritos using some of my favorite ingredients - chicken, black beans, yellow rice, red peppers - I knew we were going to love it.

I've made these burritos twice now and they came out great both times. I think they're ranking up among one of our favorite meals. They're pretty easy to throw together, and I served up the extra yellow rice for a side. Probably the most important thing to be aware of is to not over-stuff the burritos or you'll have a mess. I'm including the original recipe below, but I cut the ingredients in half and ended up with 6 HUGE burritos. I also skipped grilling the chicken because I'm not the grillmaster of the family (that title is reserved for the hubby). Instead, I cooked the chicken in a skillet and then cut into strips. I also left out the ancho chile powder because I only had the chipotle on hand.

Tell me this doesn't look sinfully delicious!!


Sunken Burritos
(recipe from Good Things Catered)

Ingredients:
4 large chicken breasts
1 Tbsp. garlic powder
1 Tbsp. chipotle chile powder
1 Tbsp. ancho chile powder
1 Tbsp. cumin
1 tsp. salt
10 extra large flour burrito tortillas
1 Tbsp. olive oil
1 large onion, sliced into strips
1 green pepper, sliced into strips
1 red pepper, sliced into strips
1 can black beans, strained and 1/2 of liquid reserved
1 box Zataran's yellow rice
4 c. sharp cheddar cheese, shredded
1 small can red enchilada sauce

1. Light grill on high and preheat oven to 350 degrees, preparing a 9x13 pan. Cook rice according to package directions.

2. In small bowl mix together spice mixture. Pound out chicken breast to equal thickness throughout. Coat chicken with spice mixture evenly on both sides. Turn grill down to medium low and place chicken on, breast side up. Cook, turning once, until cooked through, about 15 mins. depending on the size of the chicken. Remove from grill and set aside, letting cool slightly.

3. In medium nonstick skillet over medium high heat, add oil and heat. Cook pepper and onion, salted and peppered to taste, until cooked to a tender crisp, about 10 minutes. In small saucepan add beans and reserved liquid, heat through over low heat. Slice chicken into strips 1/2 inch wide.

4. Assemble burritos: On large tortilla, add chicken, vegetables, rice, beans, top with cheese and roll, tucking in sides first. (Do NOT overload - this is a common problem). Place burrito in prepared baking dish. Repeat with remaining burritos. Spoon enchilada sauce over burritos and tops with remaining cheese. Bake, uncovered, until cheese is melted, about 15 minutes.

Makes 10 servings.